Table of contents
Mount an EBS volume to EC2 Instance
Follow the steps given below carefully for the setup.
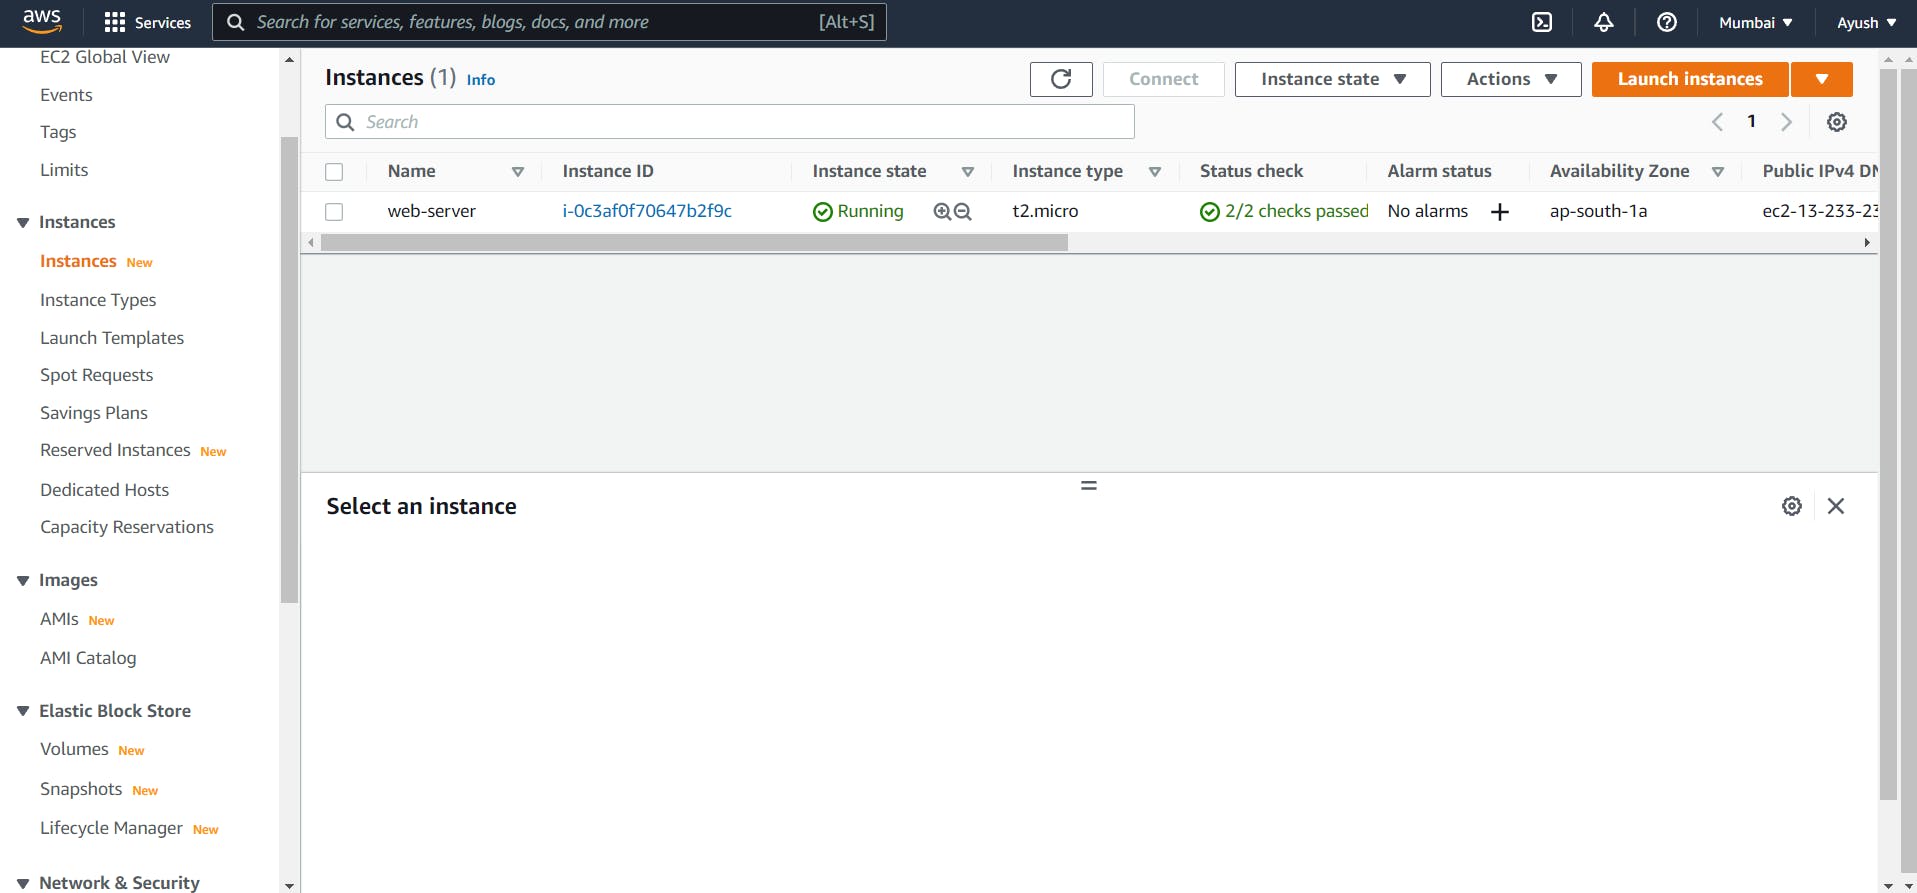
Step 1: Launch an EC2 Instance
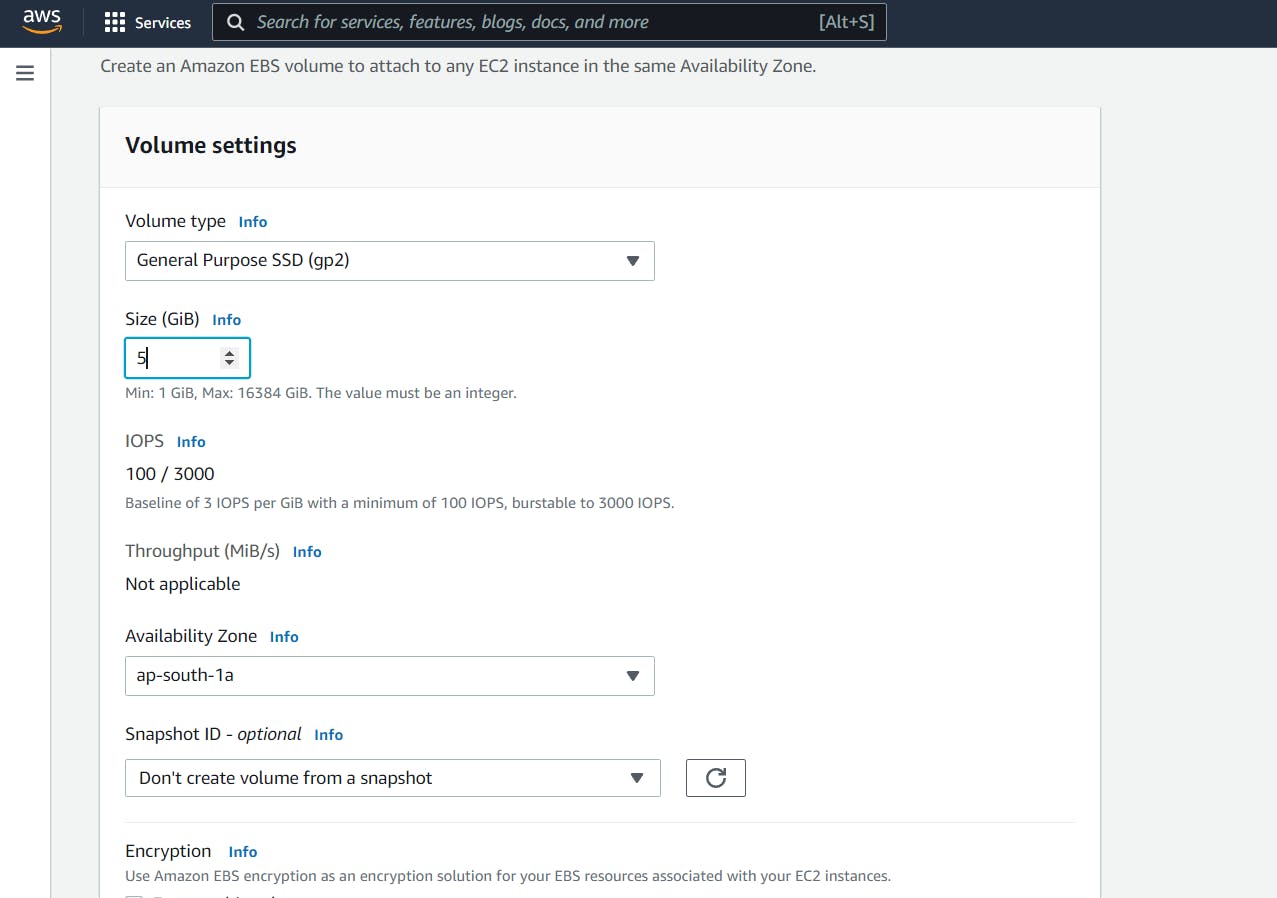
Step 2: Create a new Volume, Confirm the Availability Zone from the Instance Created and select the same in the new Volume.
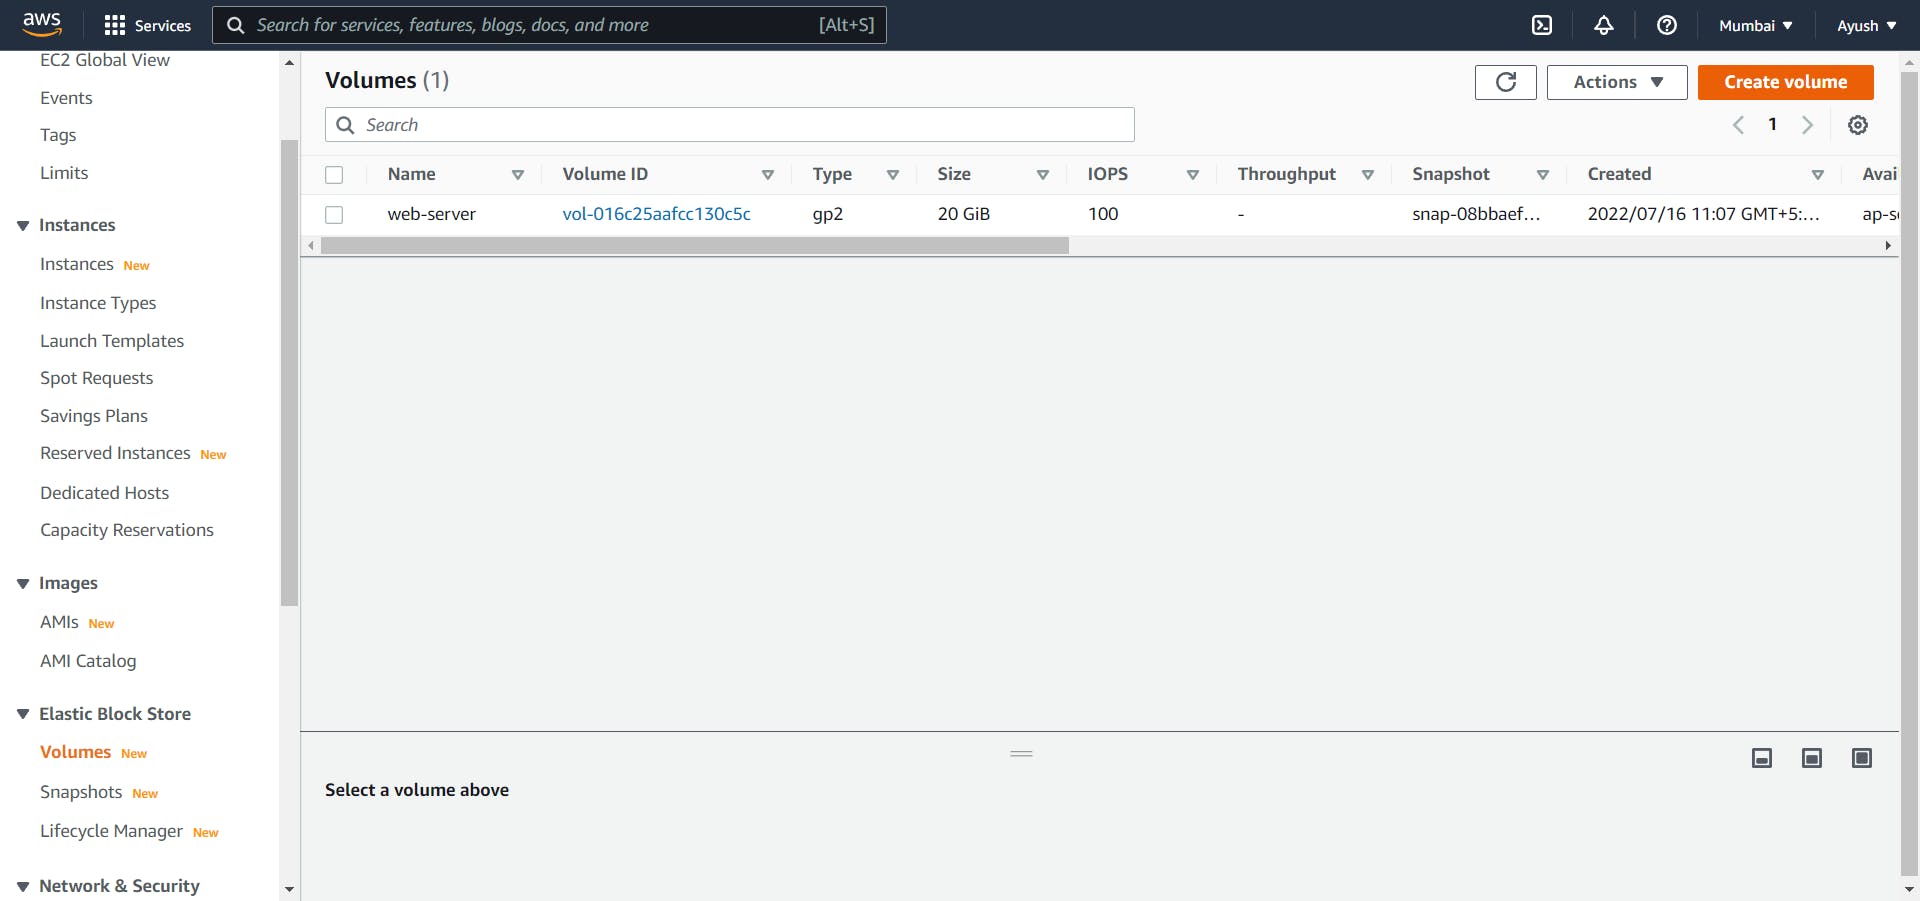
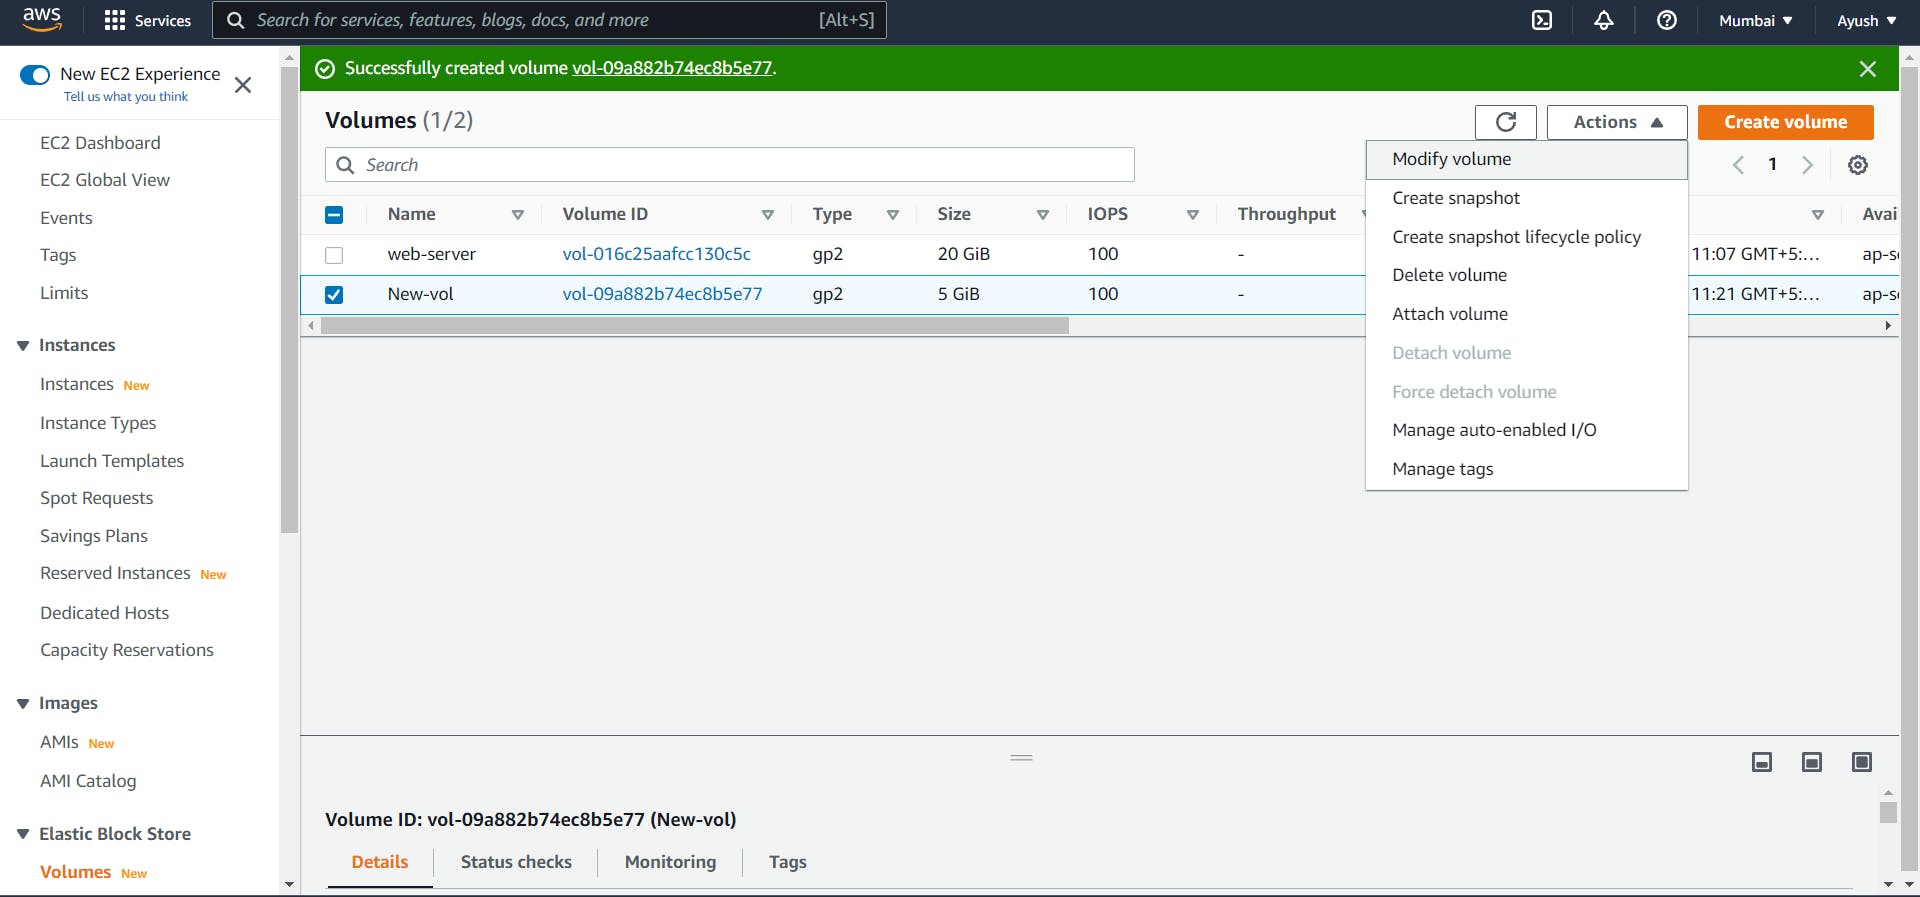
Step 3: Select the created volume, Click on Actions and select the “attach volume” option.
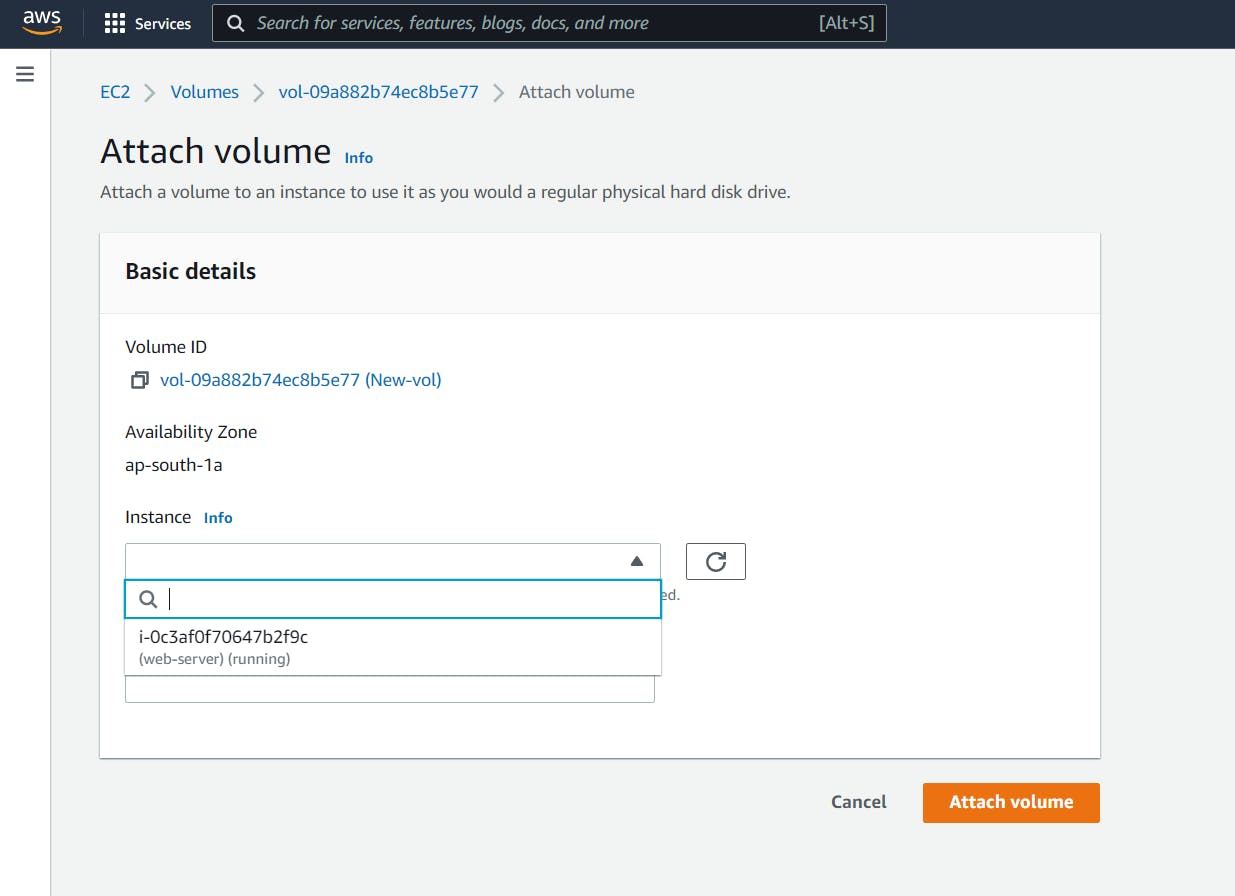
Step 4: Select the ec2 instance from the instance text box and Select Attach Volume.
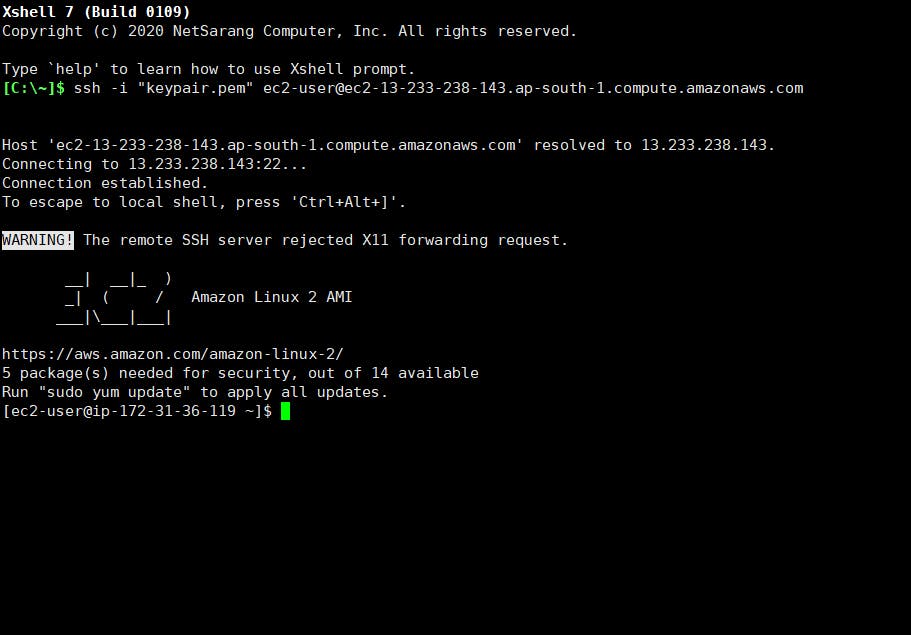
Step 5: Connect your EC2 instance
Step 6: Use the following command to shift to the root user.
Sudo su
cd

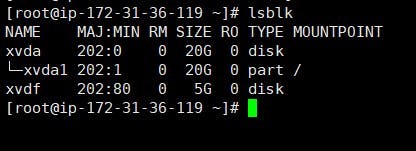
Step 7: List the available disks using the following command, here you can also find the disk you attached to your instance.
lsblk
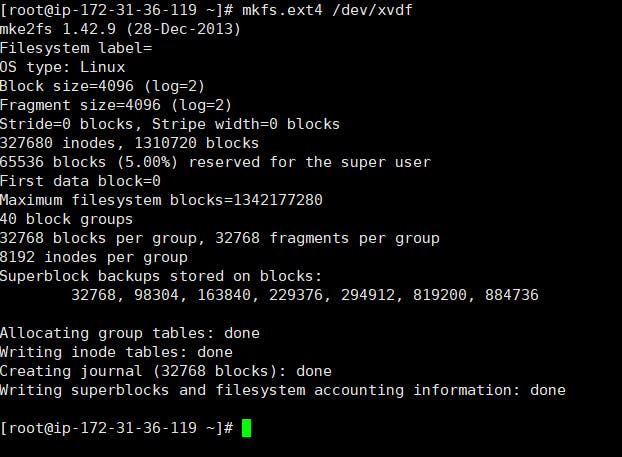
Step 8: Format the volume to the ext4 filesystem using the following command.
mkfs.ext4 /dev/xvdf
Step 9: Create a directory of your choice to mount the new volume.
mkdir /new-volume
cd /
cd new-volume/

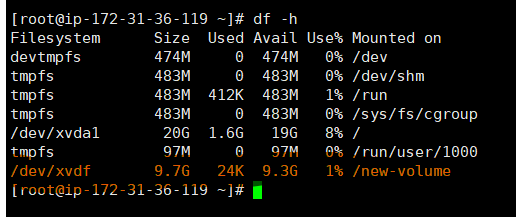
Step 10: Mount the volume to the “new-volume” directory using the following command and check the disk space to validate the volume mount.
mount /dev/xvdf /new-volume/
df -h
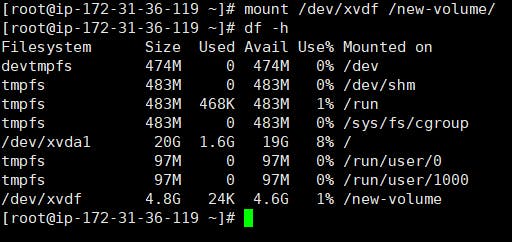
Volume is now successfully mounted to the EC2 Instance.
Automount EBS Volume on Reboot
By default on every reboot, the EBS volumes other than root volume will get unmounted.
To enable automount, Follow the steps given below to automount the EBS volume to ec2 instance.
Step 1: Open the "fstab" file
vi /etc/fstab
Step 2: Make an entry in the following format.
/dev/xvdf /new-volume ext4 defaults,noatime 1 1
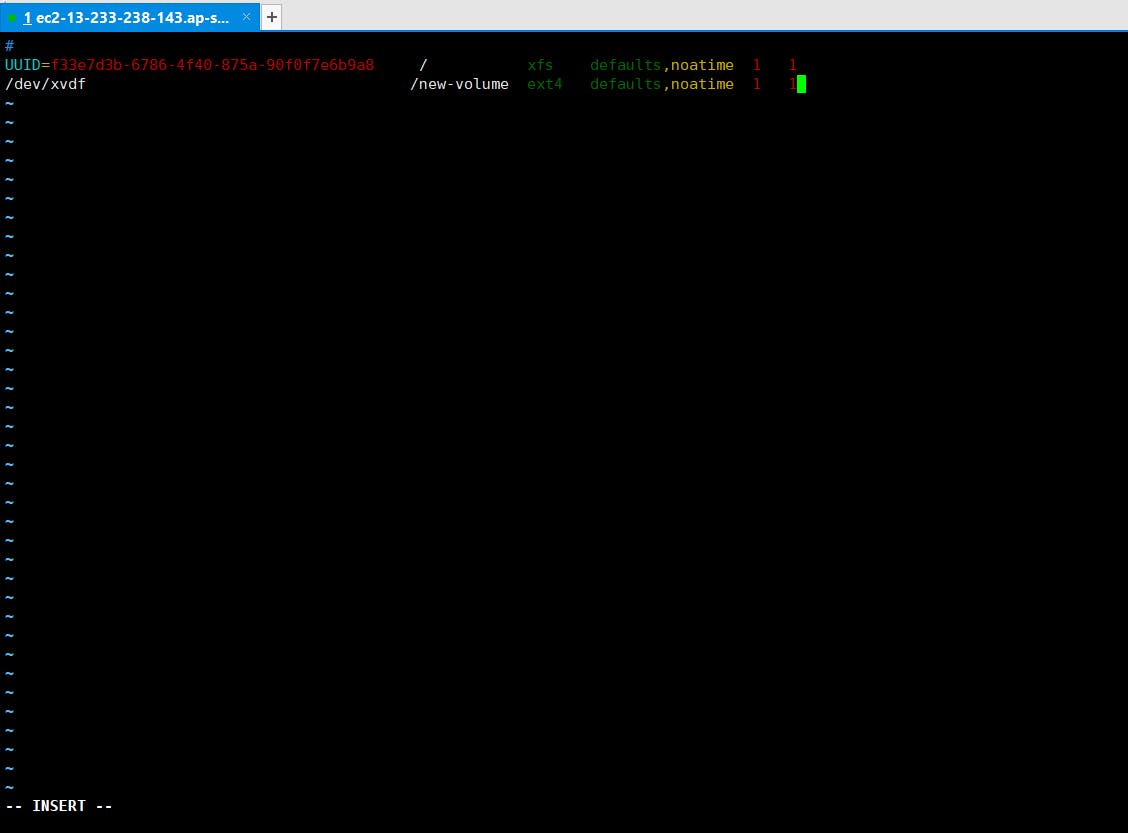
Step 3: Execute the following command to check if the "fstab" file has any error, If the command shows no error, it means the "fstab" entry is good.
mount -a

Now, on every reboot, the extra EBS volumes will get mounted automatically.
How To increase the size of the volume?
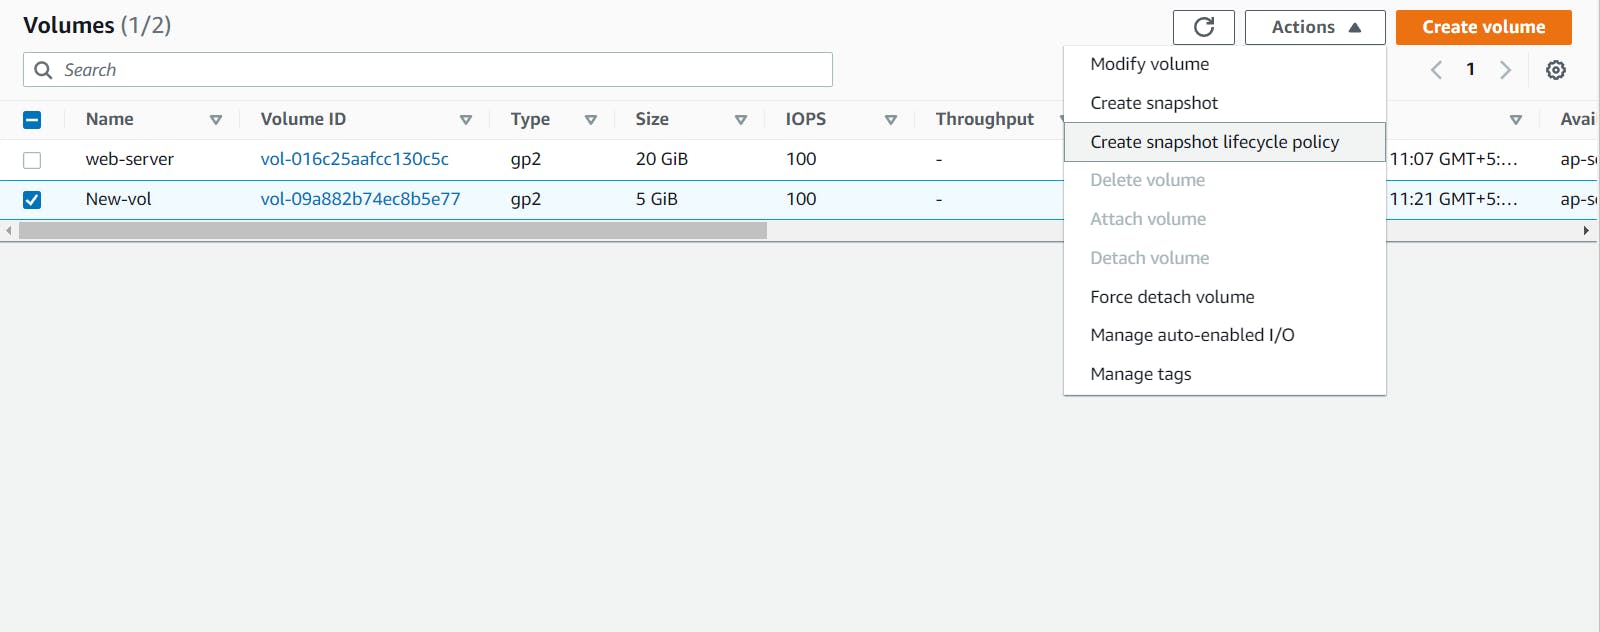
Step 1: Visit the volumes section, Select the required volume and click on "Actions" and select "Modify Volume" . Increase the size and click on "Modify".
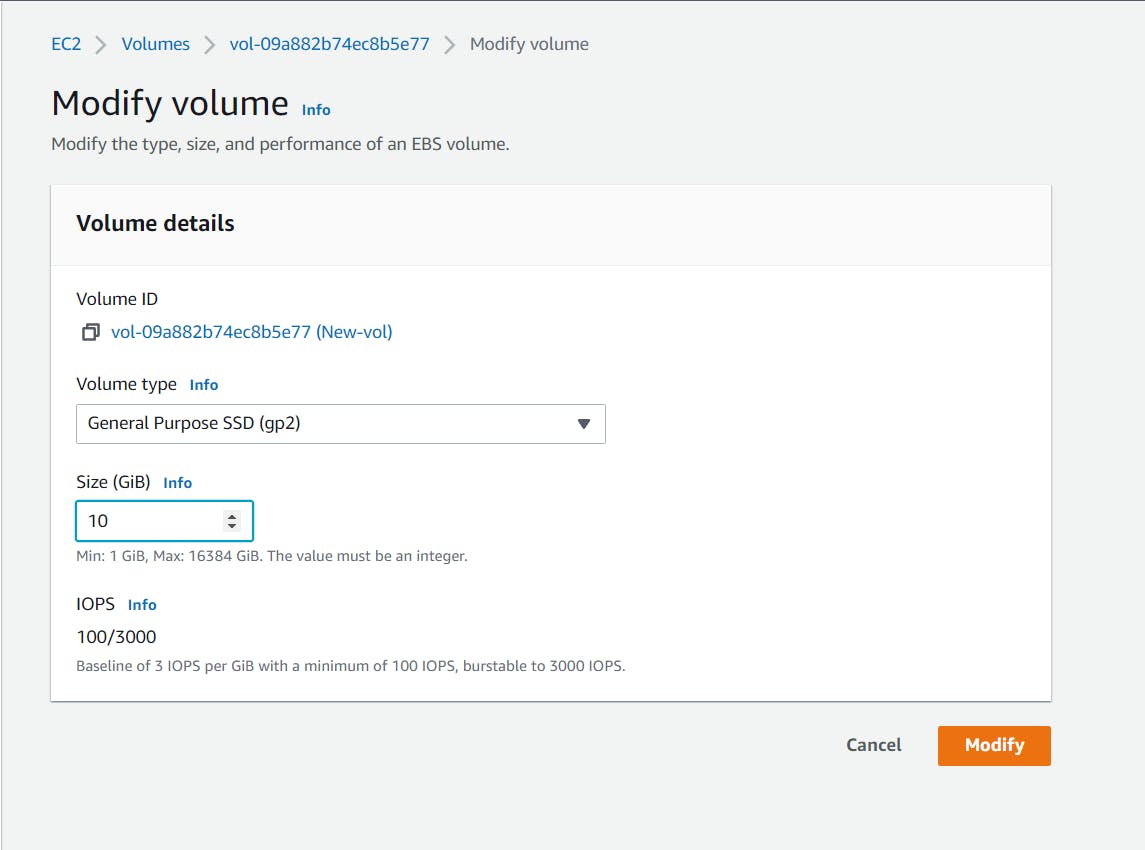
Step 2: Go back to the console, and enter the following command to resize the volume.
resize2fs /dev/xvdf

Step 3: To check, if the volume is successfully increased. Enter the following command.
df -h
